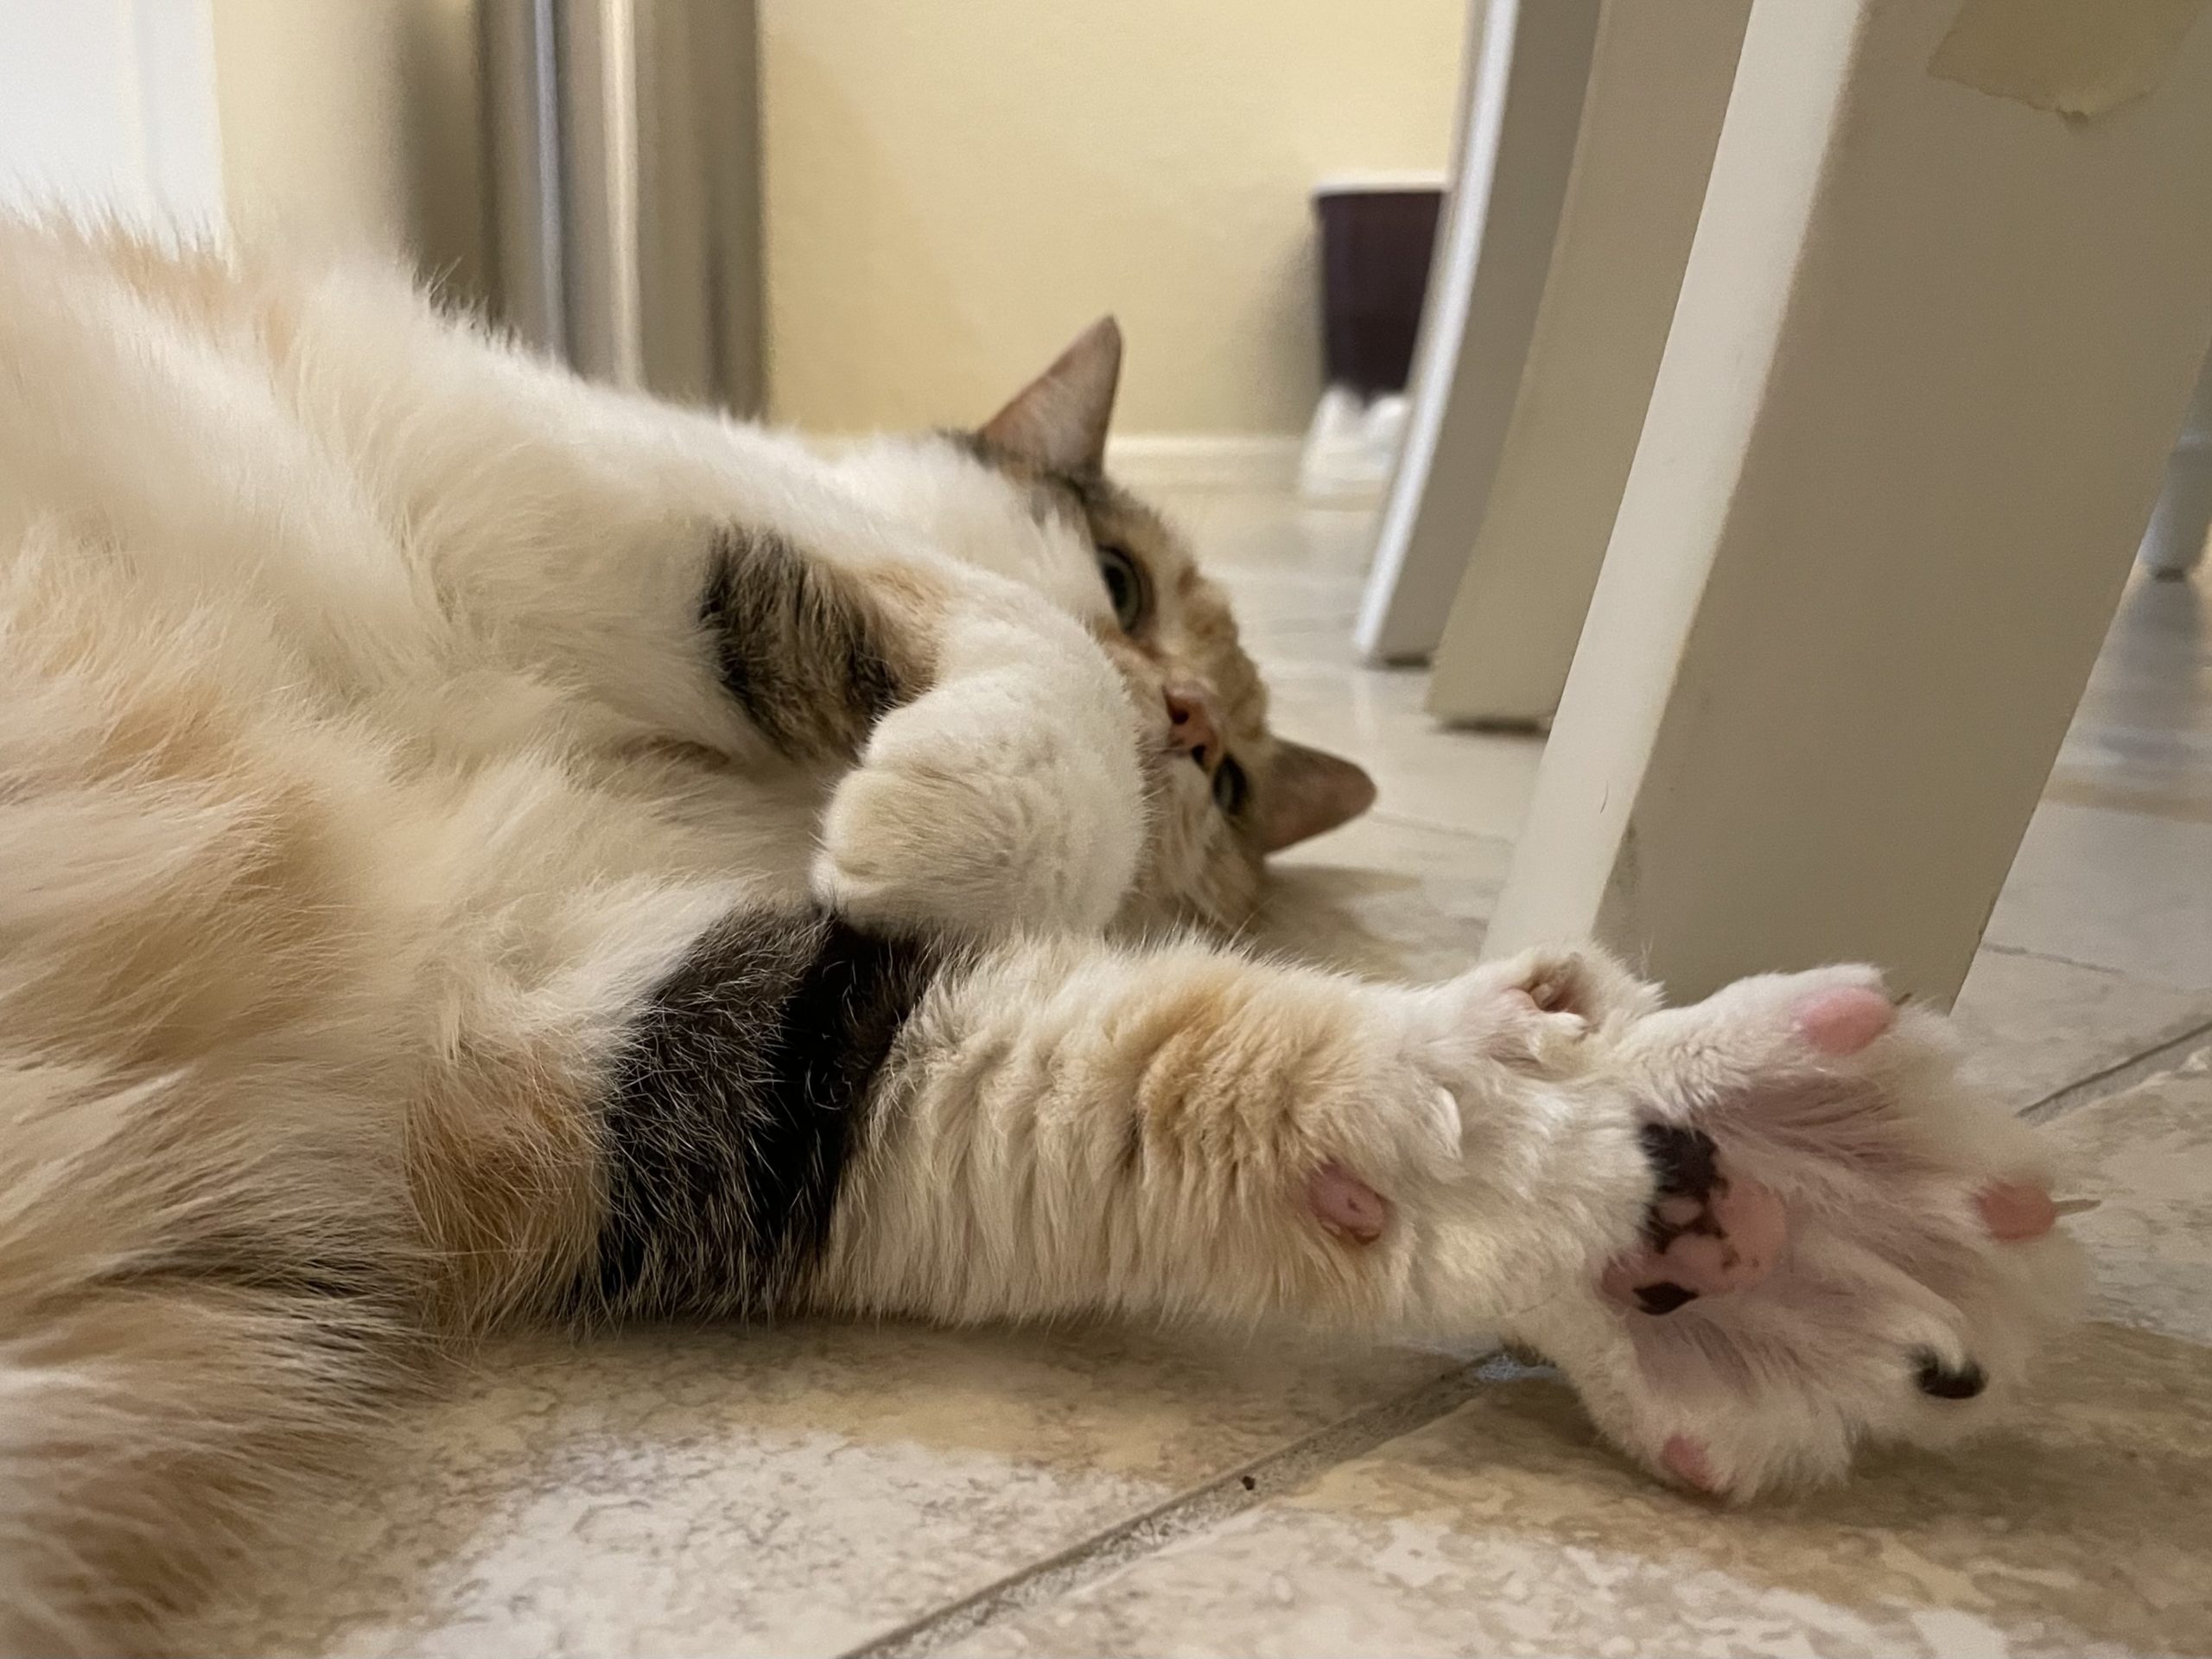
DIY Paw Print Stamps
There’s something undeniably charming and sentimental about capturing your pet’s paw print. It’s a special keepsake that holds a unique connection to your furry friend. In this guide, we’ll show you how to create paw print stamps, a fun and creative activity that allows you to preserve your pet’s paw print and share it with others. We also encourage you to tag your stamp photos on social media, creating a delightful gallery of adorable paw prints. Follow these steps to make your own DIY paw print stamps!
Materials Needed:
- Non-toxic ink pad or washable paint in your desired color(s)
- Blank cards, paper, or fabric for stamping
- Craft brushes or foam brushes
- Wet wipes or damp cloth for easy clean-up
- Optional: markers, pens, or colored pencils for embellishments
Step-by-Step Guide:
Step 1: Prepare the Workspace
Find a well-lit and comfortable area where you can work. Lay out your materials, ensuring everything is within reach. Place a protective layer, such as newspaper or a plastic tablecloth, to prevent any accidental spills or stains.
Step 2: Ink or Paint Preparation
Open your non-toxic ink pad or squeeze a small amount of washable paint onto a palette or shallow dish. Use a craft brush or foam brush to evenly distribute the ink or paint, making sure it’s not too thick or too thin. Test the consistency on a scrap piece of paper or fabric.
Step 3: Preparing Your Pet’s Paw
Gently clean your pet’s paw with a damp cloth to remove any dirt or debris. Ensure their paw is dry before proceeding. If your pet is uncomfortable with their paw being touched, you can also opt to press the ink pad or paint onto their paw directly.
Step 4: Creating the Paw Print Stamp
Press your pet’s paw onto the ink pad or dip their paw into the paint, making sure the ink or paint covers the paw pad evenly. Ensure that their paw is not excessively coated to avoid smudging or smearing.
Step 5: Stamping
Carefully place your pet’s paw onto the blank card, paper, or fabric where you want to create the stamp. Gently press down on each paw pad, ensuring good contact with the surface. Hold their paw still for a few seconds to allow the ink or paint to transfer effectively.
Step 6: Cleaning Up
Using wet wipes or a damp cloth, wipe your pet’s paw to remove any residual ink or paint. If necessary, you can wash their paw with mild soap and warm water. Clean your own hands thoroughly as well.
Step 7: Let it Dry and Embellish (Optional)
Allow the stamped paw print to dry completely before handling or embellishing it further. Once dry, you can use markers, pens, or colored pencils to add names, dates, or decorative elements around the print if desired.
Step 8: Share Your Paw Print Stamps
Capture photos of your adorable paw print stamps and share them on social media platforms. Encourage others to join in the fun by creating their own paw print stamps and tagging their photos using a specific hashtag. This way, you can create a delightful gallery of pet paw prints and connect with fellow pet owners who appreciate the joy of preserving these precious memories.
Capture a Moment in Time
Creating paw print stamps is a wonderful way to capture a moment in time with your beloved pet. By following this step-by-step guide, you can create unique and personalized paw print stamps that hold sentimental value. Don’t forget to share your creations on social media, tagging your photos and encouraging others to join in the fun. Let’s celebrate the adorable paw prints of our furry companions and inspire a community of pet lovers to cherish these special moments.
Tag Us on Social Media
Tag your DIY paw print stamps on Instagram @QualifiedPetServices or on Facebook @QualifiedPetServicesLLC!


